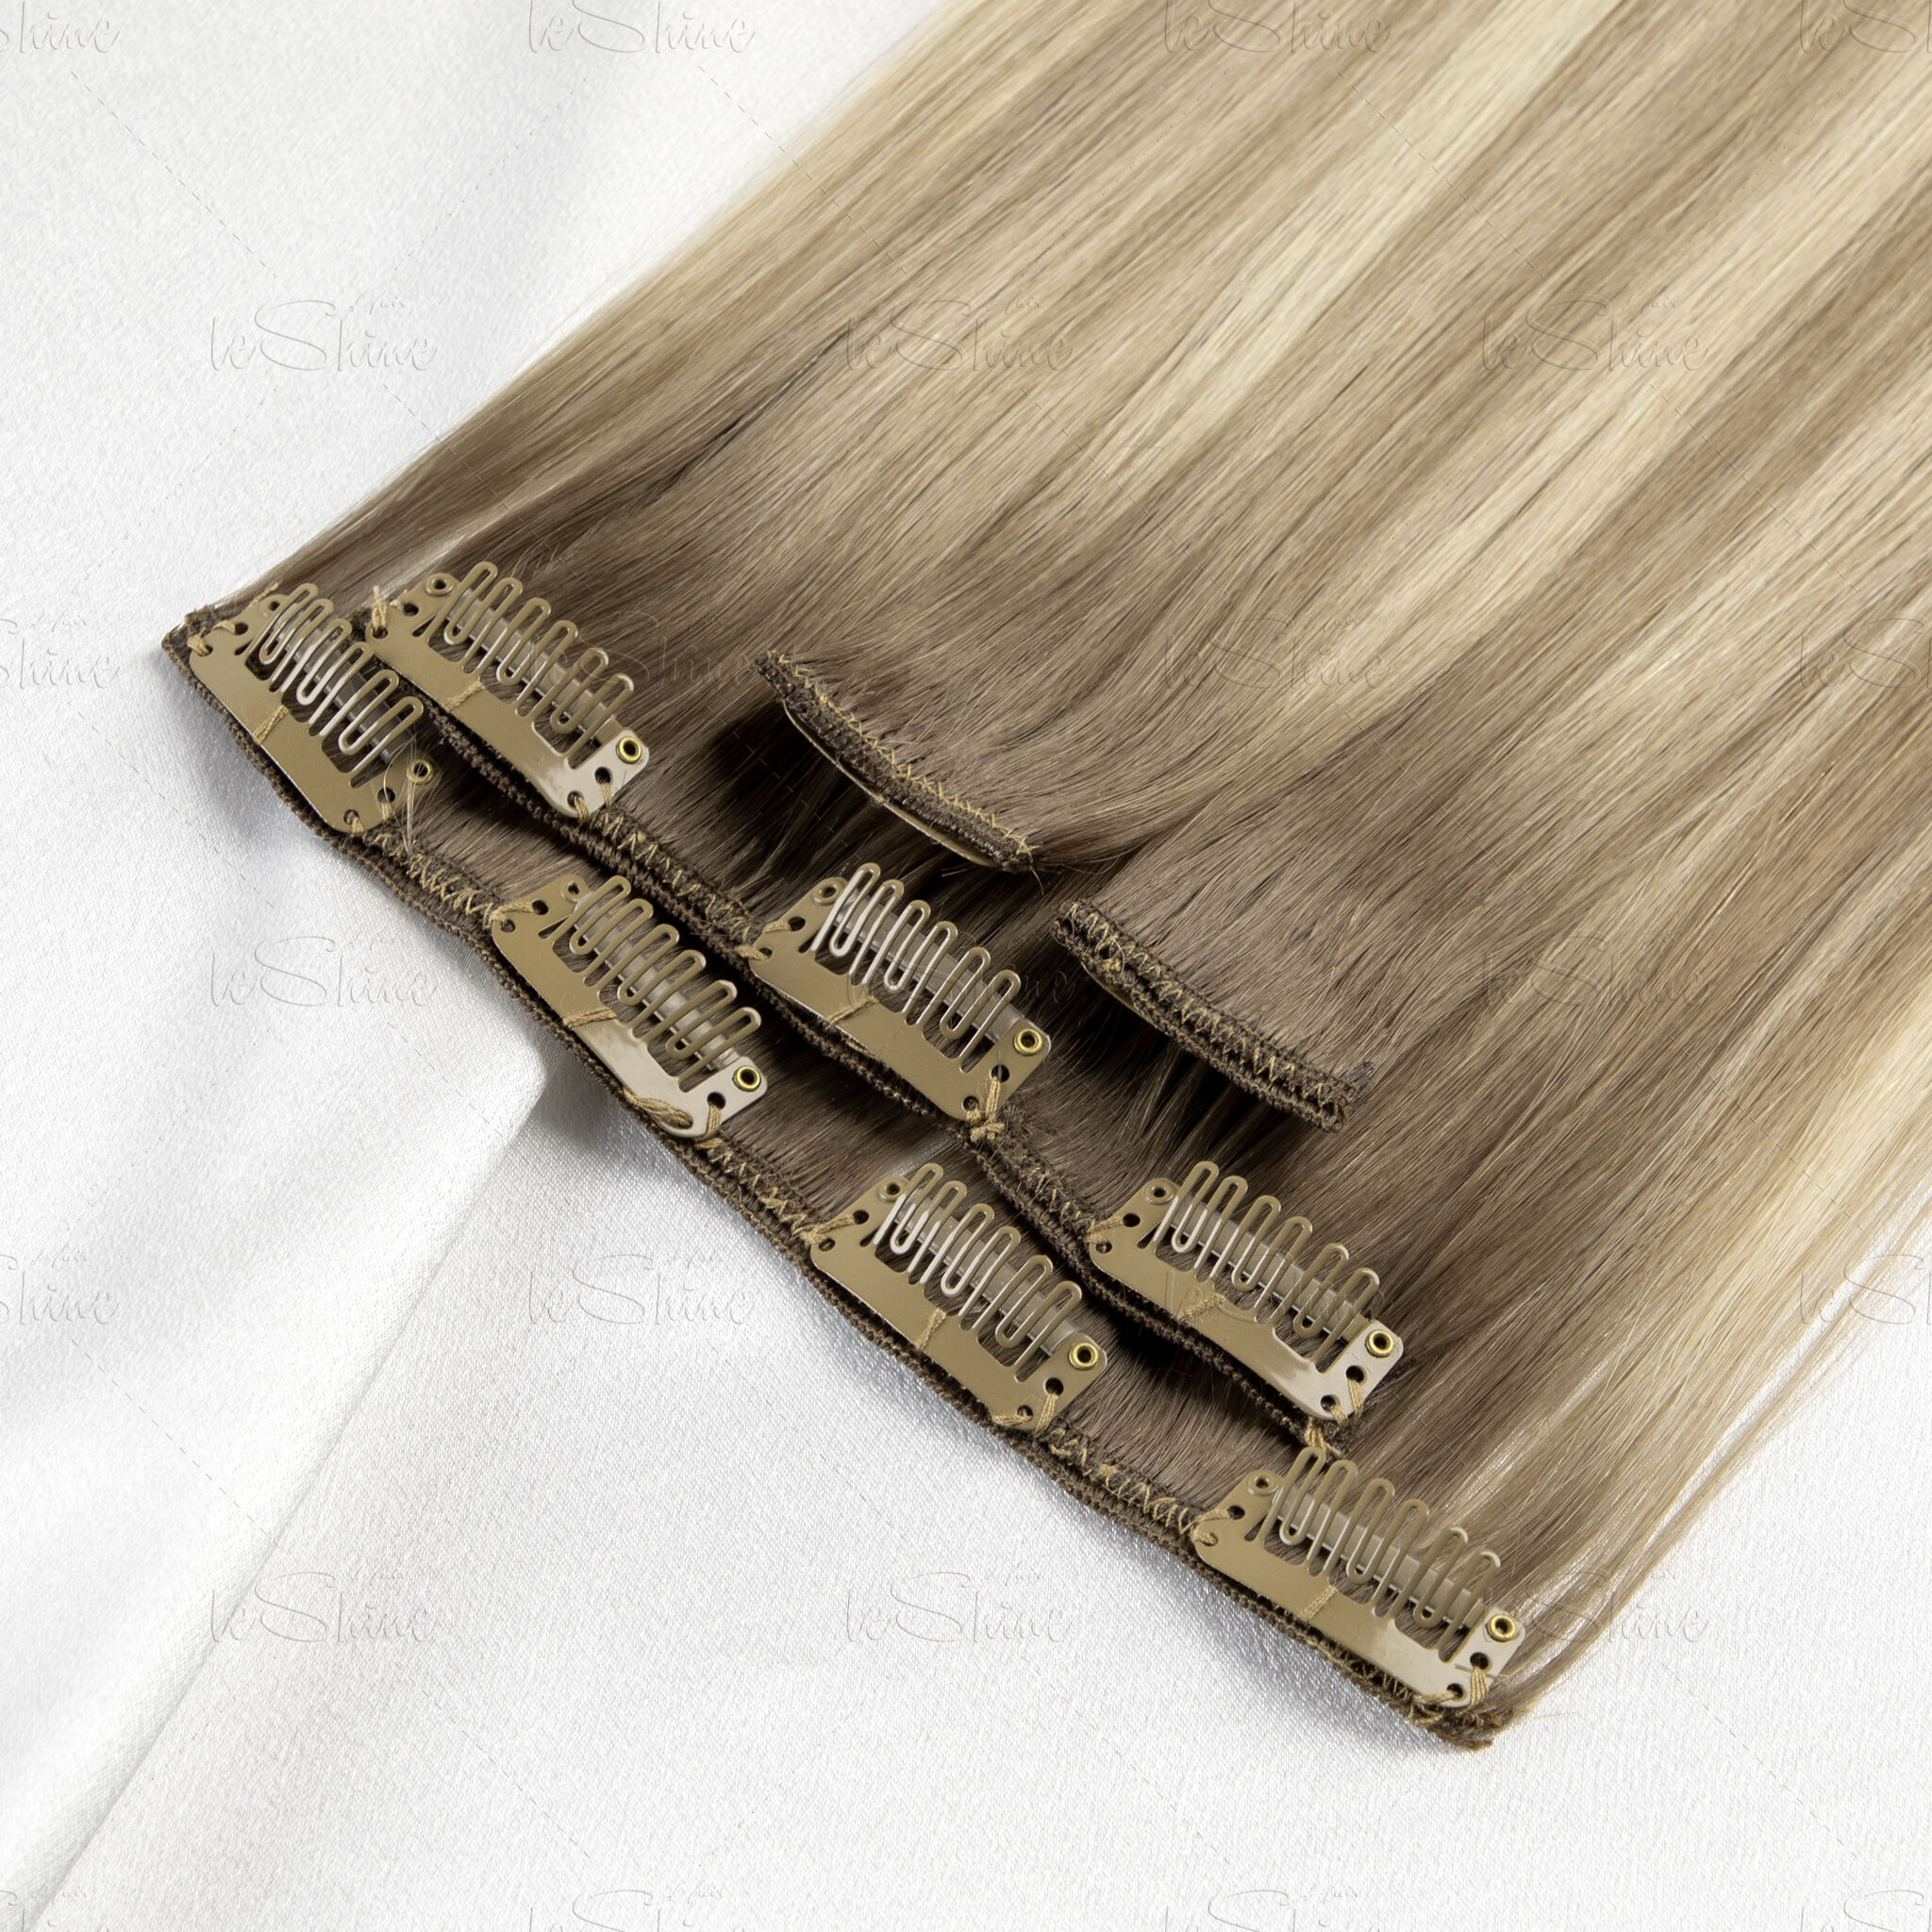

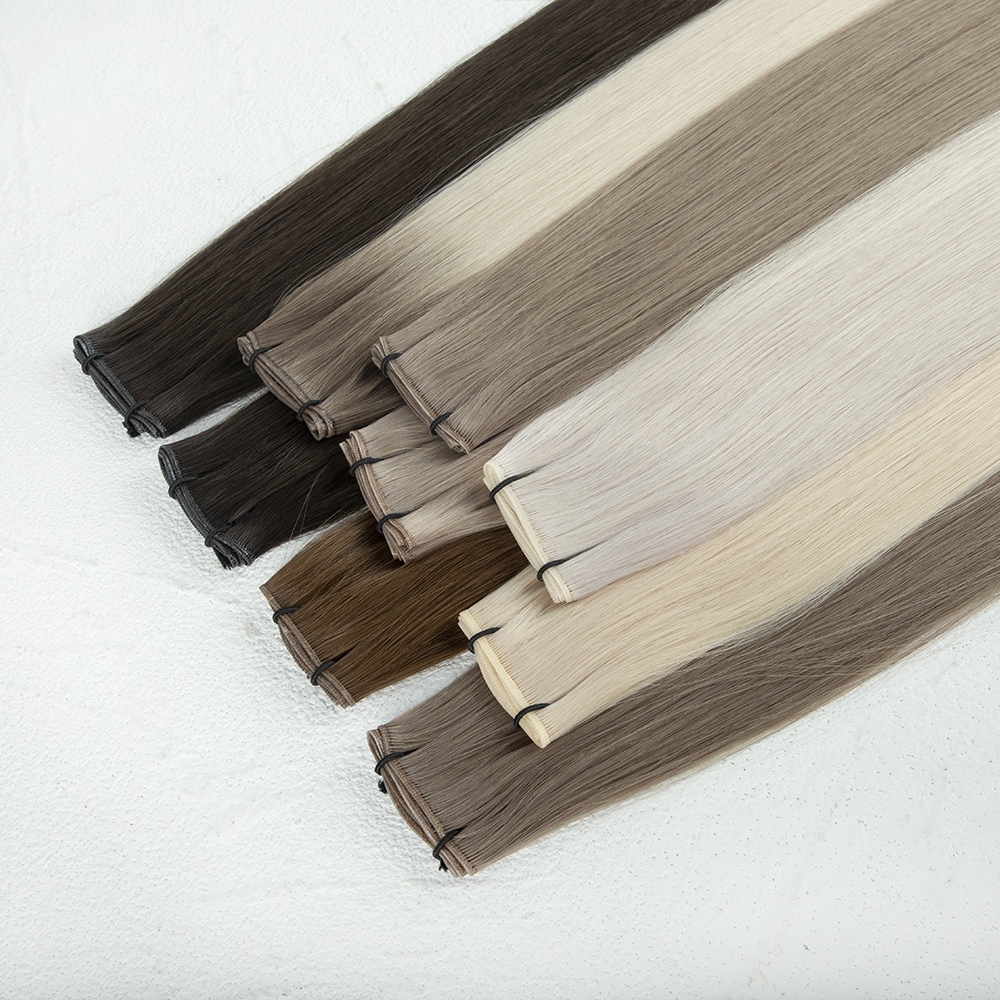
Hair weft extensions are pre-bonded strands sewn onto a horizontal base, used to add length and volume. The four primary types cater to different needs:
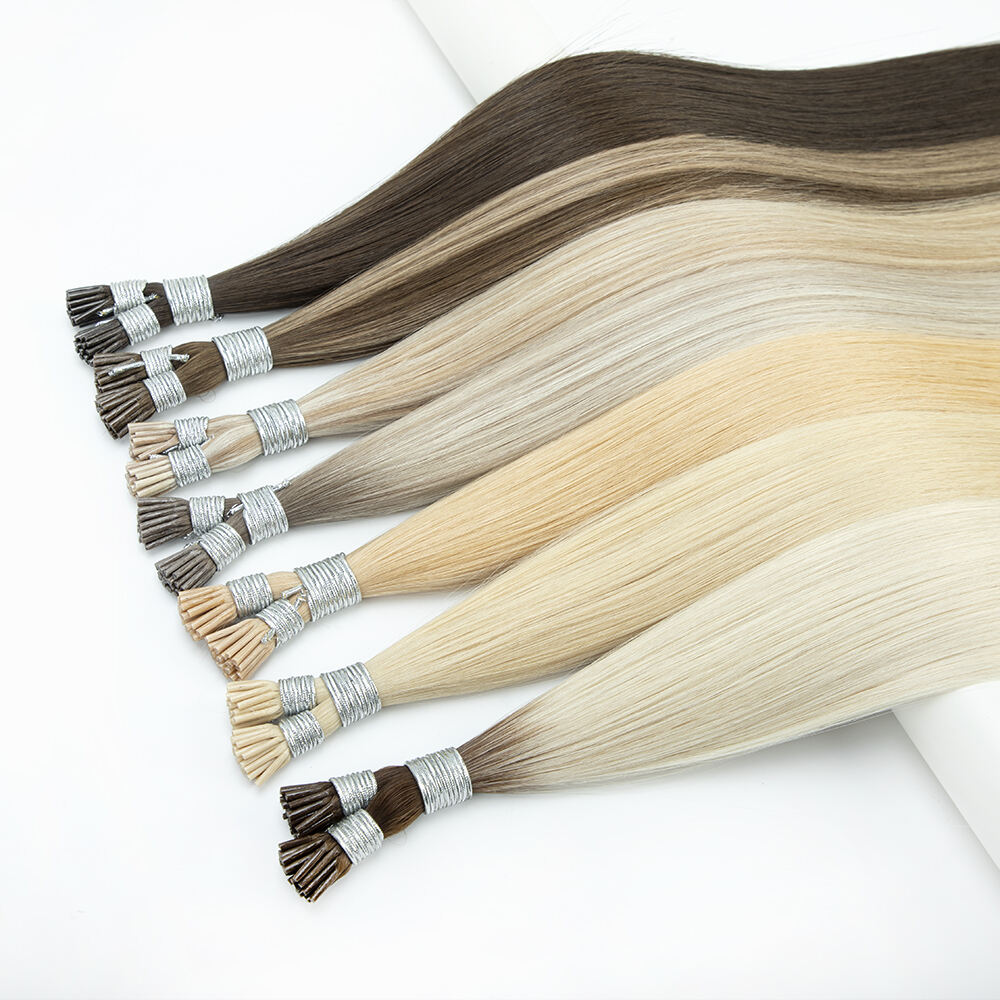
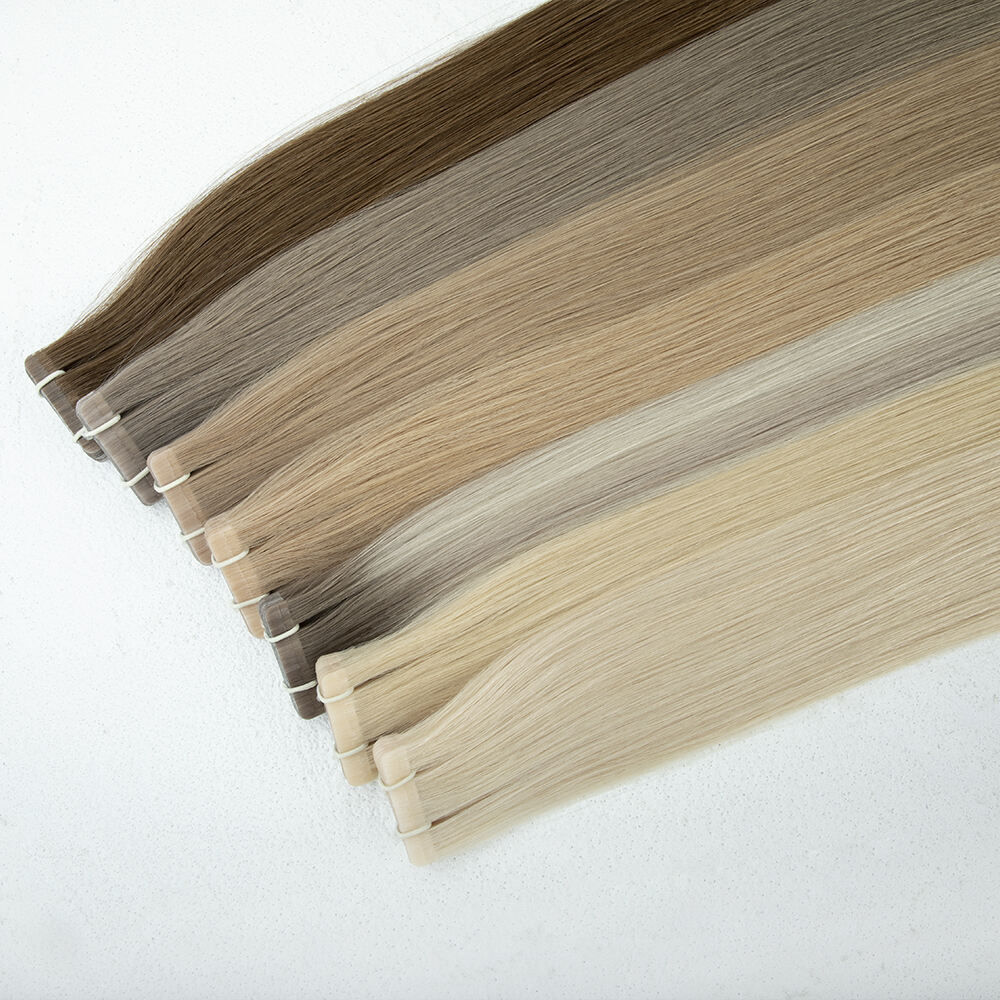
Choose weft type by examining hair thickness—hand-tied or genius wefts won’t uproot fine hairs, while machine wefts can handle thicker strands. When matching colours just bring the weft in the sun light with your own hair and choose the right one. A 2023 hair extension survey revealed that 78% of users obtain seamless blends by choosing wefts to be 1-2 levels lighter than their roots to add dimension.
When applying no-sew hair weft extensions for salon-quality results, all you need is the right tool. Sections are nice and clean with a rat-tail comb, and silicone-lined sectioning clips keep them from sliding where you don’t want them. The micro link pliers attach beads to hair without harming hair cuticles, and loop tools make it easy to pull wefts through anchor points. Be sure to have sharp haircutting scissors handy for blending and heat protectant spray for styling post-install.
Begin with freshly washed hair with sulfate-free shampoo to get rid of oils which can weaken the adhesion. Blow your roots completely dry—damp strands slash grip strength by as much as 40%. Section hair into 1" panels using your rat-tail comb and your sectioning clip to separate. This structured development is beneficial, as you can work on one section, without interfering with neighboring wefts.
Keep pressure even by pulling natural hair up to the weft with one hand, all while supporting weft with your other hand. The perfect hold is to have the same tension as a loose braid: tight enough to remove slack, but light enough to prevent follicle stress. Check the tightness of the test by gently inserting a fingernail between your scalp and the weft base; it should slide through without catching.
Section hair horizontally to get started, using a tail comb and leaving a 1 – 2 cm space from the scalp. Slide silicon-coated micro beads onto 0.6 cm hair sections—thicker than sewing threads, thinner than traditional braids. Firmly crimp crimp beads closed 0.3 cm from the roots using crimping pliers, allowing for secure anchor points that evenly distribute weight. Sew beads with 1.5 cm distance each other so tension is not stratifying.
Place weft tracks in between bead rows in the down position as close to the scalp horizontally as possible, 3.Attach weft Holding your index finger, thread a c-needle through a micro link. Step 8 V-Jaw Pliers can be used to snap the links shut over the bead and the weft at the same time using 15-20 lbs of pressure for the best grip. For finer hair, switch between vertical and diagonal sectioning to achieve optimal surface coverage while preserving natural movement.
Install wefts in staggered 3-4-3 patterns across three horizontal sections:
This tiered approach mimics natural hair density gradients, with 180g wefts providing 40% more volume than traditional clip-ins while maintaining scalp comfort.
Point-cut weft ends at 45° angles to break up blunt lines, then blend using a razor comb on the top 5 cm of both natural and extension hair. For color discrepancies, apply semi-permanent glaze matching your natural shade’s underlying pigment—warm tones (gold/red) blend 27% more effectively than cool tones.
Carry mini silicone elastics for on-the-go repairs:
For plier-free adjustments, apply keratin-infused sealing spray to tightened beads—provides 8-12 hour hold until professional reinforcement.
Clip-in hair extensions are the fastest and safest way to add length, volume and color without causing damage to your own hair, the clips simply snap in and out of place very easily Clips containing rubber having 4pcslosure, you can adjust it to your head size because they are human hair extensions. Great for those who want to wear them once in a while or for a night out, as they do no harm when they are taken off at the end of the day, they do not quite have the same subtlety that other semi-permanent options do. Tape in hair extensions and a natural way add length to your hair.Bonding with medical grade adhesive.One package includes 100 strips and it lasts for 6–8 weeks with professional application. Less obvious than clip-ins, tape-ins must be carefully placed to prevent tension-induced breakage.
Weaving methods are the most comfortable, as they add no weight to hair, and the longest lasting (8–12 weeks) because they are braided into natural hair in cornrows and wefts are then sewn onto the braids. This method is appropriate for all hair types, but especially wise for those with thicker or multi-textured hair who desire maximum durability for athletic or daily wear. Sew-ins must be performed by a trained stylists to avoid scalp irritation (they are typically tightened every 4–6 weeks).
Comb through hair wefts with a wide-tooth comb or soft-bristle brush starting at the ends and working your way up to reduce stress on bonds, every morning. You should not pull or use aggressive staff for the area around the attachment spot. For style, do not exceed 350°F and use a thermal protecting spray. At night, clip extensions in a loose braid or low ponytail to avoid tangling. Silk pillowcases cut friction by 40 percent versus cotton.
Shampoo hair wefts every 10-14 days with sulfate free products to maintain color and bond strength. Too much cleansing will over strip the natural oils resulting in increased wear on the extensions and your natural hair. When you shampoo, massage down toward the wefts, never scrub up. Dry roots with a blow-dryer on low heat and don’t go to bed with weft on without being completely dry to avoid bacteria development.
Make salon appointments every 6-8 weeks for the bonds to be repositioned and checked for tension. Trimming protects against strained ends, and neglecting this can lead to unsalvageable damage to your extensions. Harsh tension creates uneven weight distribution, which breaks weaves 78% of the time. With professional maintenance and home care, the life of a weft can last up to 4-6 months.
Discomfort due to tension is usually caused by tight placing of beads or not wide enough section to begin with. To lessen tension, pad with silicone between wefts and scalp. Vary bead size based on hair amount—you’ll need larger beads for thicker strands (6-8mm is perfect for 80% of users). Clients who experience headaches should refrain from wearing high ponytails for the first 48 hours after the extension attachment, to allow the bond to settle.
Shedding increases by 40% when wefts are cut without sealing the stitching. Apply clear nail polish or specialized weft sealant to any trimmed edges. For slippage prevention:
Extend weft lifespan by 2-3 months with these salvage techniques:
The main types of hair weft extensions include machine wefts, hand-tied wefts, skin wefts, and genius wefts.
Select a weft based on your hair's thickness. Hand-tied or genius wefts are ideal for fine hair, while machine wefts work well for thicker hair.
Essential tools include a rat-tail comb, silicone-lined sectioning clips, micro link pliers, loop tools, and sharp haircutting scissors.
Hair wefts should be washed every 10-14 days using sulfate-free products.
Avoid using heavy oils near attachment points, use non-slip hair grips during activities, and re-tighten beads every 3-4 weeks.
Qingdao LeShine Hair Products Co., Ltd. specializes in premium hair extensions made from 100% Remy cuticle-intact human hair. With over 32 years of experience, we offer durable, tangle-free extensions and customized solutions for customers in 164 countries.