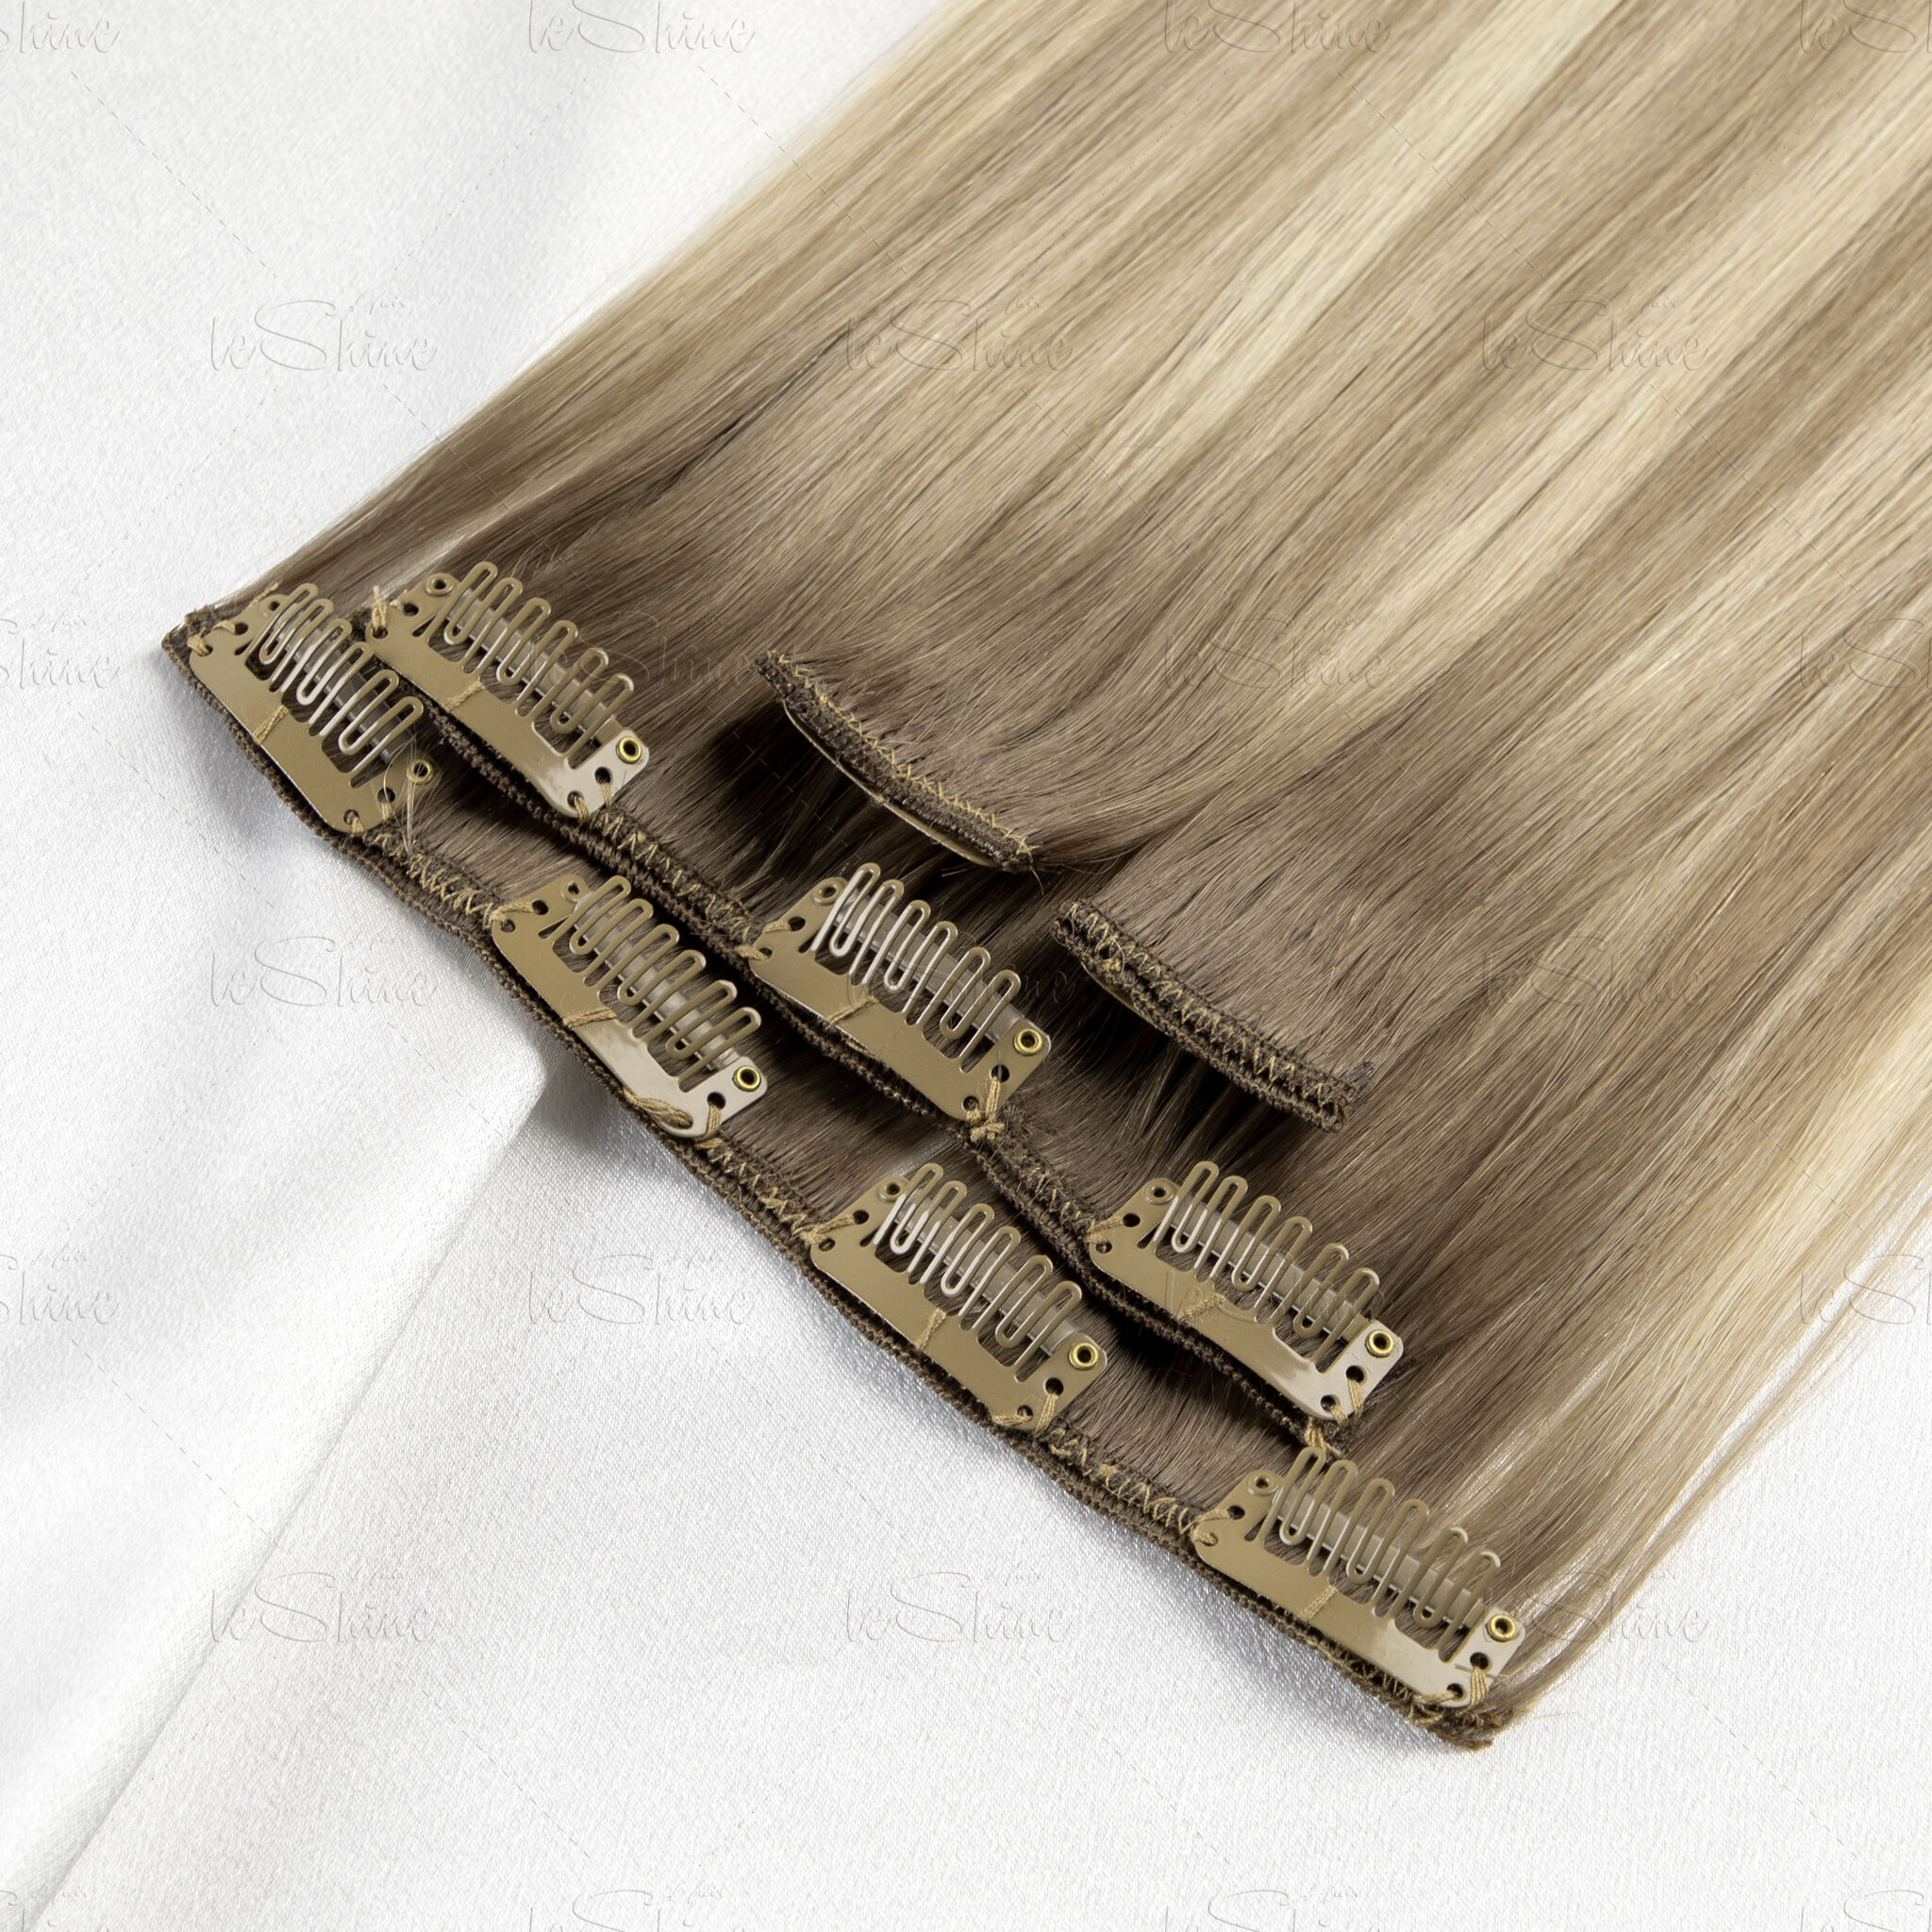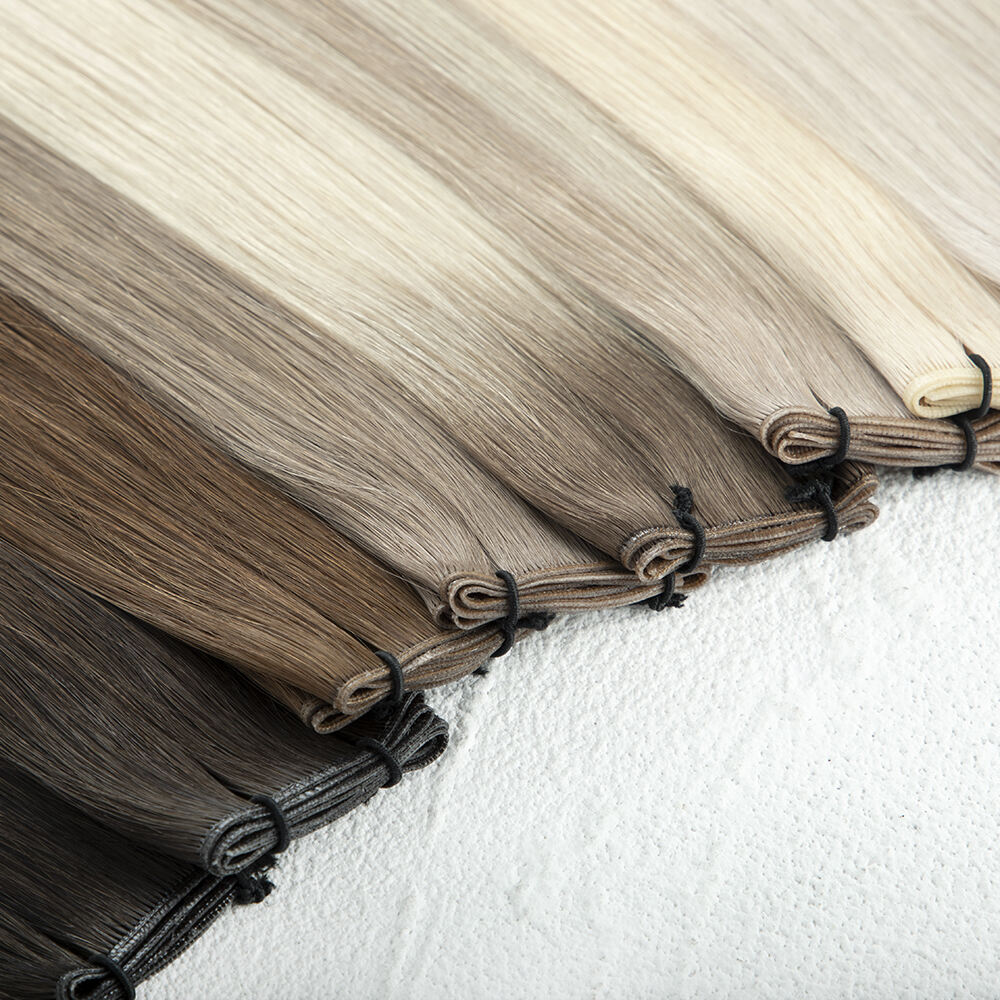
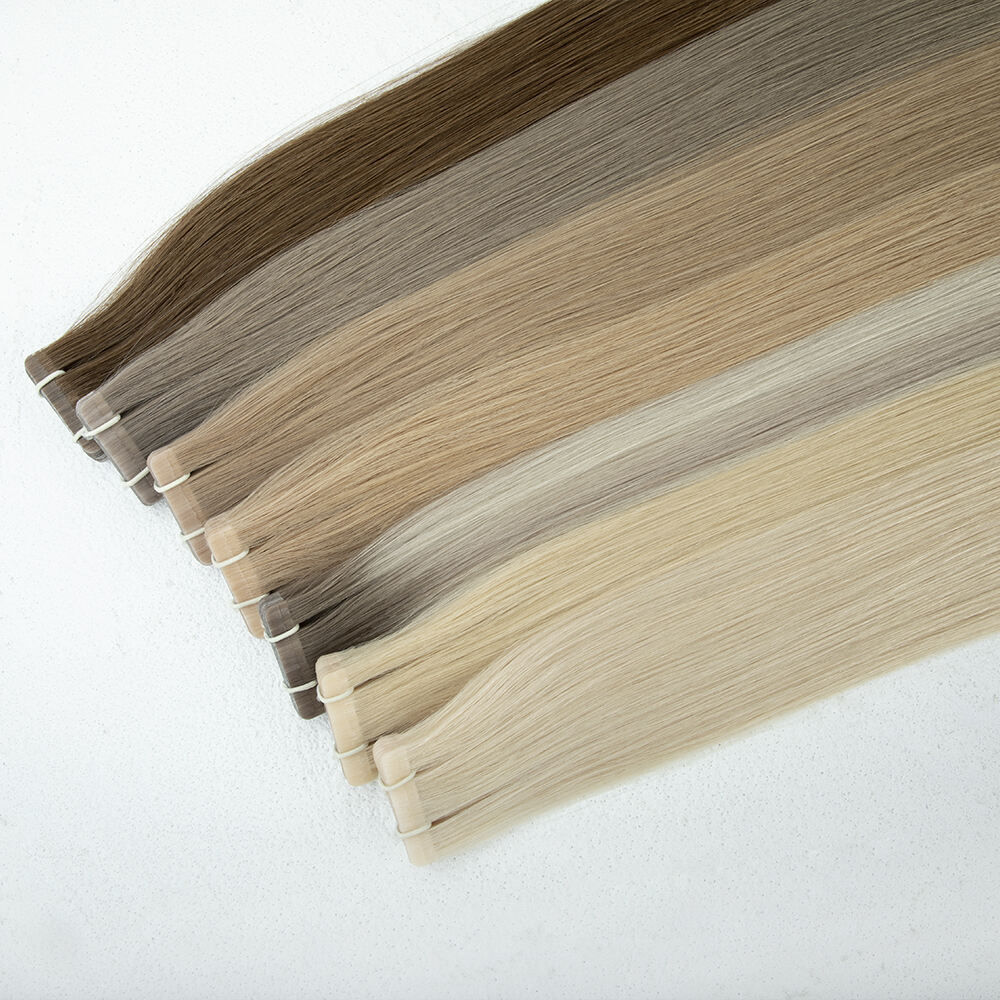

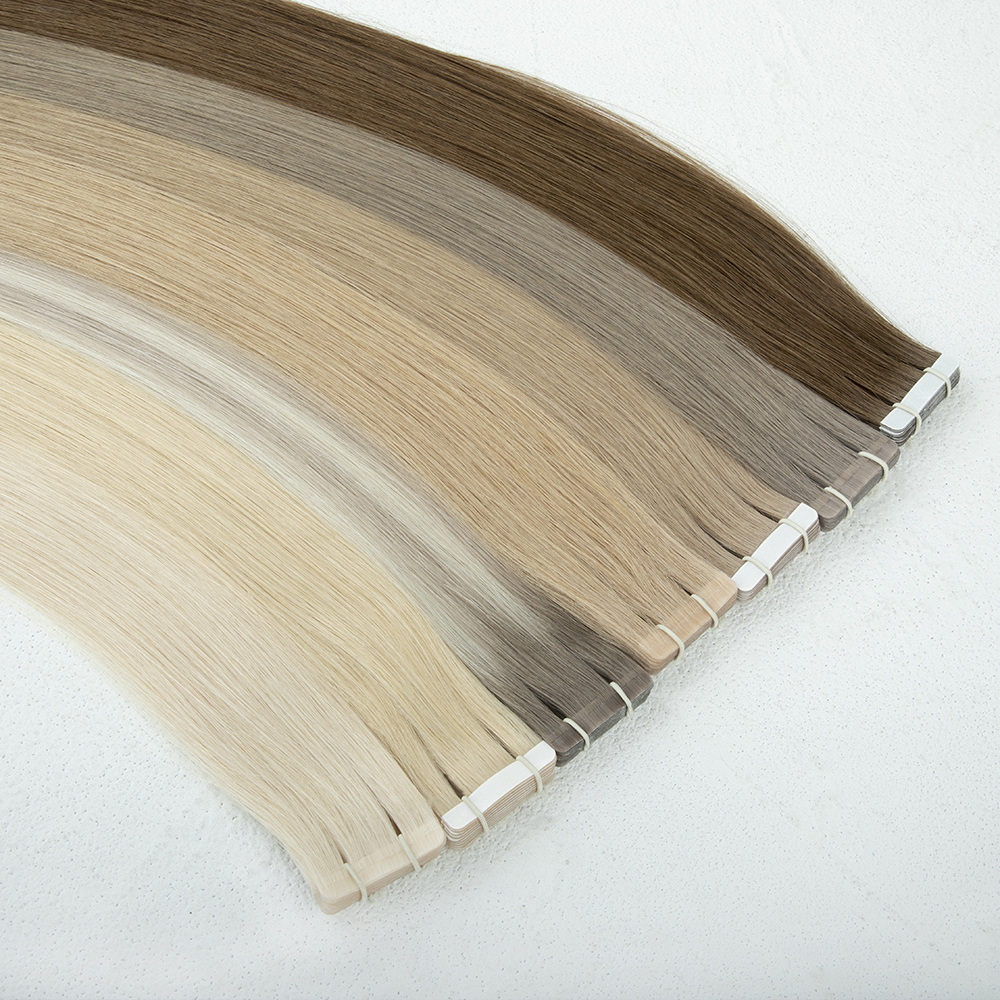
When well color-matched and applied, tape-in extensions blend undetectably with normal hair. The ultra slim adhesive wefts (0.6mm thickness) are invisible and lay flat to the head for a more natural look. Unlike clip-ins, this method "sandwiches" hair between two strips, enabling ponytails and updos with no visible installation points. 120-gram Silky Touch Clip-insPro stylist tip: tape-ins are great for texture consistency as the 100% human hair reflects natural movement.
Tape-ins are 30% lighter than the typical clip-ins and provide even tension across hair sections, so there's no pulling and pressure points. The sterile adhesive prevents scalp irritation from micro-beads and sew-ins, and no heat is required to ensure hair remains damage-free. Not to mention wearers rave about how comfy they are during workouts and during sleep—a top reason 72% of salons recommend tape-ins for fine-haired clients (2024 Salon Industry Report).
The invisible 1" adhesive strips allow heat styling up to 350°F, enabling sleek blowouts, voluminous curls, or intricate braids. Unlike keratin-tipped extensions, tape-ins can be parted in any direction. Over 90% of users maintain their preferred styling routines while wearing tape-ins, from beach waves to formal updos (2023 Consumer Hair Trends Analysis).
Begin with a clarifying shampoo treatment 24–48 hours pre-application to strip oils and residues. Avoid conditioners—their emulsifiers create slippery barriers. Hair must be 100% moisture-free post-washing; blow-dry with medium heat and tension techniques for thorough dryness.
Comb hair gently from ends upward using a wide-tooth detangling tool to prevent matting. Avoid aggressive brushing that disrupts cuticles. Knot-free hair enables precise placement.
Eliminate all leave-in treatments, serums, and oil-based products for two days before installation. Even lightweight formulations compromise tape adhesion. Scalp treatments with silicones or emollients increase slippage risks.
Gather a wide-tooth comb, sectioning clips, alcohol wipes, and tape-in wefts. Disinfect tools to remove residue. A clutter-free, well-lit workspace with a three-way mirror ensures precision.
Start at the nape, creating horizontal sections no wider than 1 inch. Position each weft ¼ inch from the scalp to minimize follicular stress (2023 Trichology Study). Use butterfly clips to isolate sections.
Remove the protective backing to expose the medical-grade adhesive. Press the weft firmly for 5 seconds to initiate bonding. For professional-grade adhesives, glide a mini flat iron (max 250°F) over the bond for 3 seconds.
Sandwich natural hair between two wefts, aligning edges perfectly. Apply steady pressure for 10-15 seconds using a silicone-lined clamp. Avoid styling for 10 minutes post-application to prevent bond failure.
Avoid washing or wetting hair to allow full adhesion. Don’t use heat tools, and sleep with hair in a loose braid to minimize friction. Premature adjustments weaken the bond.
Keep heat tools below 350°F and apply a heat-protectant spray. Focus styling away from adhesive bonds. Use sulfate-free shampoos and lightweight conditioners to maintain moisture without compromising adhesion.
Brush gently twice daily with a soft-bristle extension brush, starting from the ends. Hold roots steady to minimize tugging. Proper care can extend tape life up to 8 weeks.
Professional tape-in installation takes 1-2 hours, while sew-ins require up to four hours and fusion techniques exceed three. Tape-ins offer 6-8 weeks of wear between adjustments—ideal for busy lifestyles.
Tape-ins distribute weight evenly, avoiding the traction alopecia risks of sew-ins or heat damage from fusion. Their flexible design prevents the friction breakage common near clip-ins, making them gentler for long-term wear.
Tape-in hair extensions are a type of hair extension that use adhesive strips to attach sections of hair closely to natural hair. They offer a seamless natural look when applied correctly.
With proper care, tape-in extensions can last up to eight weeks before needing adjustment or reapplication.
Tape-in extensions are particularly recommended for clients with fine hair due to their lightweight design and lack of traction pressure.
Yes, tape-in extensions can be styled with heat tools. It's important to keep the temperature below 350°F to avoid damaging the adhesive bonds.
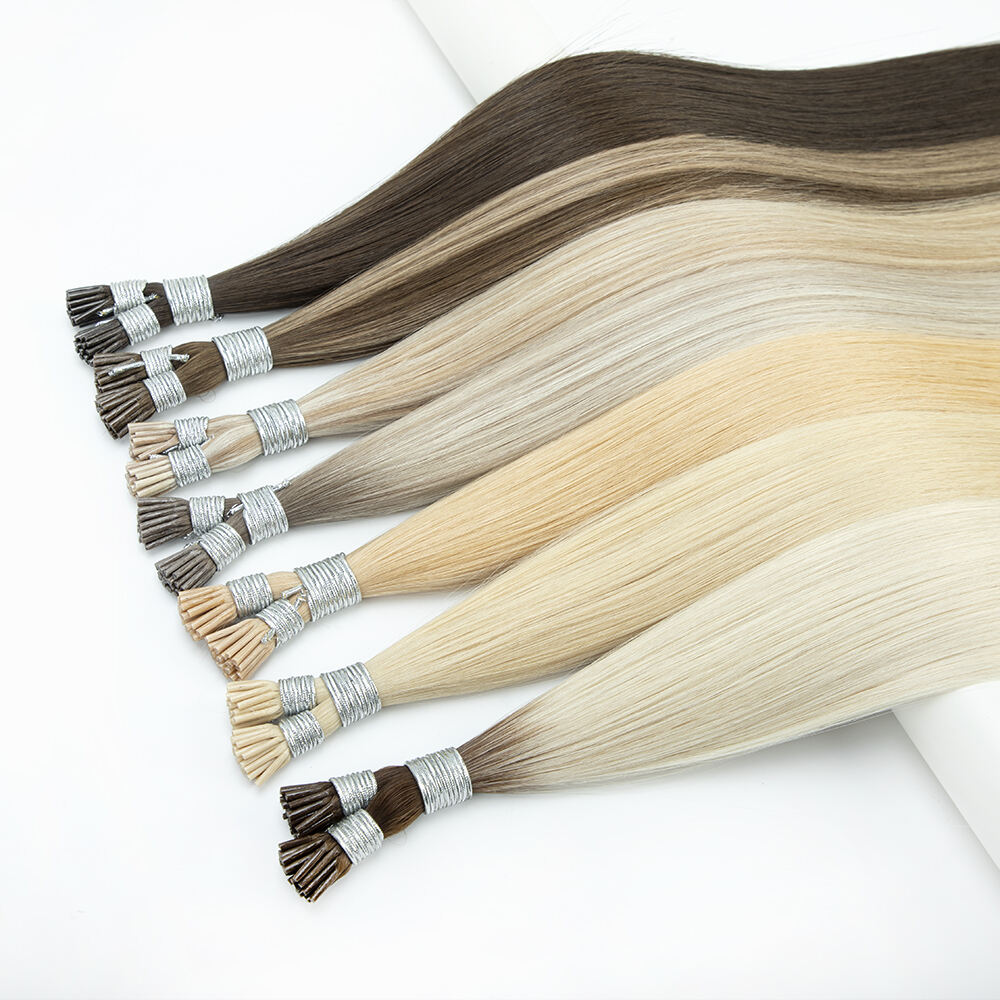
The process involves sectioning the hair, removing adhesive backing, and sandwiching segments of natural hair between extension wefts. A mini flat iron may be used to strengthen the bond.
Qingdao LeShine Hair Products Co., Ltd. specializes in premium hair extensions made from 100% Remy cuticle-intact human hair. With over 32 years of experience, we offer durable, tangle-free extensions and customized solutions for customers in 164 countries.